
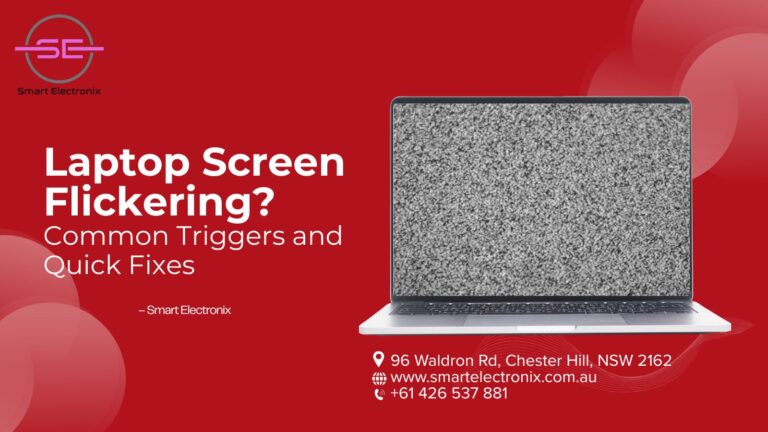
You’re right in the middle of a task or binge-watching your favorite show when your laptop screen starts acting up — flickering, flashing, or going dim. It’s frustrating, distracting, and definitely not something you want to ignore. At Smart Electronix, we often see these screen issues, and thankfully, they’re usually reversible with a bit of know-how. So before thinking of replacing your laptop, let’s explore the reasons behind screen flickering and how you can fix it.
Why Is Your Laptop Display Flickering?
Display flickering often stems from underlying software incompatibilities or internal hardware malfunctions. It doesn’t always mean your display is broken. Here are the main causes:
- Outdated or corrupted display drivers
- Faulty or loose internal connectors
- Incorrect screen refresh rates
- Background software conflicts
- Aging inverters or backlights in older models
- Viruses or corrupted operating system files
Let’s explore how to diagnose and fix each scenario.
1. Refresh or Reinstall Display Drivers
Display drivers are essential for your screen’s performance. Glitches here often trigger flickering.
- Press the Windows key + X, then select ‘Device Manager’ from the menu that appears.
- Click the arrow next to ‘Display adapters’ to expand the list, then right-click on your graphics card from the options shown.
- Choose “Update driver” and follow the instructions.
Still flickering? Uninstall the driver and reinstall the latest version directly from the manufacturer’s website.
2. Modify the Screen Refresh Rate
An improper refresh rate can cause your screen to blink or flicker.
- Right-click the desktop > Display settings
- Scroll to Advanced display settings
- Select your monitor from the list, then click on ‘Display adapter properties’ to view detailed settings.
- Under the Monitor tab, set it to 60Hz or the manufacturer’s recommended rate
Sometimes adjusting this setting resolves the issue instantly.
3. Inspect Internal Hardware Connections

Physical connections inside your device might be the cause.
- Lightly tap the bezel or frame and watch the screen
- Move the lid slowly to detect flickering changes
If the issue responds to physical movement, a loose or damaged cable may be to blame. Our pros at Smart Electronix can open up your laptop and inspect it safely.
4. Boot in Safe Mode to Test Software
Starting your laptop in Safe Mode can help isolate software issues.
- Restart your laptop
- Press F8 or Shift + F8 (older models)
- If the screen doesn’t flicker in Safe Mode, a third-party application or background service is most likely causing the issue
Remove recently installed software or run a thorough antivirus scan.
5. Install the Latest System Updates
Operating system updates often contain critical fixes.
- Go to Settings > Windows Update
- Install any available updates
Updating your system may solve underlying bugs that impact display functionality.
6. Run a Full Malware Scan and System File Check
Infections and file corruption can interfere with display behavior.
- Use a trusted antivirus or Windows Defender for a complete scan
- Open Command Prompt (Admin) and run
sfc /scannow
These tools repair or restore corrupted files and eliminate harmful software.
7. Unplug Connected Devices
Add-on devices can sometimes cause flickering.
- Disconnect USB devices, external monitors, or hubs
- Restart your computer
If flickering ceases, reconnect devices one at a time to identify the problematic accessory.
8. Check for Physical Damage on the Display
If your laptop has suffered a fall, spill, or impact, it might be physically damaged.
- Look closely for cracks or shadow lines
- Use a flashlight to test backlight functionality
In such cases, the best solution is often screen replacement. We at Smart Electronix use authentic parts to restore your laptop to working order.
9. Use the Windows Hardware Troubleshooter
Windows has built-in tools to find and repair hardware problems.
- Go to Settings > Update & Security > Troubleshoot
- Select “Hardware and Devices” and let it run
This can help detect subtle hardware issues that are tough to diagnose manually.
10. Seek Professional Laptop Repair Help
Still flickering after trying all the above fixes? There might be a deeper problem with your graphics processor, motherboard, or display hardware.

At Smart Electronix, our expert technicians offer thorough diagnostics and affordable repair solutions. We’re equipped to handle everything from screen replacements to motherboard-level repairs.
Preventing Screen Flickering in the Future
- Keep all software and drivers updated
- Avoid installing unverified apps
- Handle your laptop gently, especially when opening or closing the lid
- Use a cooling stand to prevent overheating
Final Words
Screen flickering can be a hassle, but with a little troubleshooting, most cases are solvable without professional intervention. From tweaking settings to replacing faulty components, every issue has a solution.
Still unsure? Trust Smart Electronix for fast, reliable laptop repair services and premium replacement parts. Visit our website at Smart Electronix or drop by our center to get your screen issues diagnosed and fixed with care.