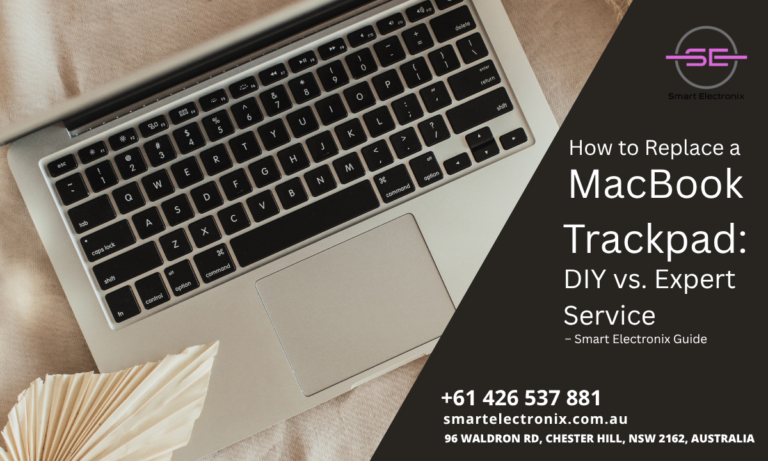
Trackpad acting up? Maybe it’s unresponsive, clicking inconsistently, or just behaving strangely. If you’re a MacBook user, this can be more than a minor annoyance. At Smart Electronix, we often help clients decide: should you replace a MacBook trackpad yourself or trust the pros? In this guide, we break down both options so you can make an informed, cost-effective decision.
Common Signs Your MacBook Trackpad Needs Replacement
Before jumping into repairs, make sure the issue isn’t software-related. A macOS update, corrupted drivers, or settings misconfiguration could be the culprit.
Hardware symptoms include:
- No click or haptic feedback
- Cursor jumping or freezing
- Physical cracks or liquid damage
- Clicking on its own (phantom input)
If any of these sound familiar, a trackpad replacement might be in your future.
Option 1: DIY MacBook Trackpad Replacement
Pros:
- Cost Savings: Replacing the trackpad yourself will generally cost less in labour.
- Learning Experience: Tech-savvy users enjoy the hands-on approach.
Cons:
- Risk of Damage: One slip and you might damage nearby components, especially the battery.
- Complex Assembly: Apple doesn’t make it easy. Newer models require disassembling the entire device.
- Warranty Void: Any unauthorized opening may void your Apple warranty.
Tools You Need:

- Pentalobe and Torx screwdrivers
- Anti-static mat
- Suction cups/spudgers
- Replacement trackpad (compatible with your MacBook model)
Basic Steps:
- Backup your MacBook
- Power off and disconnect all cables
- Remove bottom case screws
- Disconnect the battery connector
- Remove and replace the faulty trackpad
- Reassemble and test
Smart Electronix Note: We only recommend this for experienced users. A misstep can lead to expensive repairs.
Option 2: Expert Service from Smart Electronix
Sometimes, it’s better to leave it to the professionals.
Why Choose Us?
- Certified Technicians: Experienced with all MacBook models
- Genuine Parts: High-quality, compatible replacements
- Quick Turnaround: Most repairs done within 24-48 hours
- Warranty Included: On both parts and labour
What We Do:
- Full diagnostics to ensure trackpad is the issue
- Battery inspection and thermal checkup (at no extra charge)
- Precision trackpad replacement
- System calibration to ensure full responsiveness
Address: 96 Waldron Rd, Chester Hill, NSW 2162, Australia
Phone: +61 426 537 881
Website: smartelectronix.com.au
Cost Comparison
| Repair Option | Approximate Cost | Risk | Turnaround Time |
|---|---|---|---|
| DIY | $50-$100 AUD | High | 3-6 hours |
| Smart Electronix | $150-$200 AUD | Low | 1-2 days |
When factoring in tools, parts, and time, professional service often proves more cost-effective long term.
How to Decide
If you’re confident with delicate repairs and have experience with MacBook internals, DIY can work. But if you want peace of mind, safety, and guaranteed results, Smart Electronix is your best bet.
Final Thoughts
Replacing a MacBook trackpad might seem like a straightforward task, but it’s more complex than many expect. Whether you go the DIY route or leave it to the experts at Smart Electronix, knowing the pros and cons helps you make the right choice.
Need help with a faulty MacBook trackpad? Visit SmartElectronix.com.au or give us a call today. We’re here to help you get your MacBook working like new again!

